
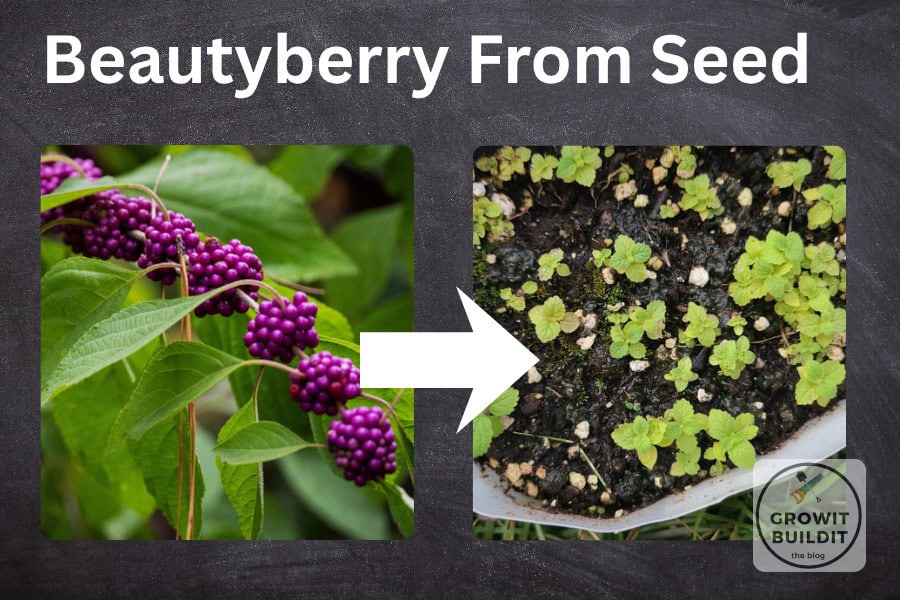
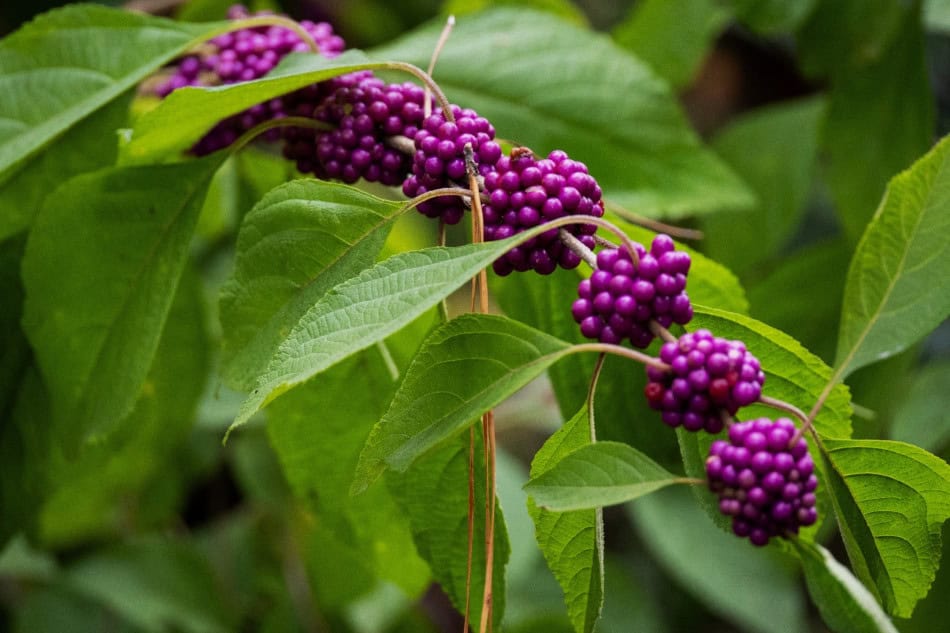
One of the prettiest of shrubs one can landscape with is American Beautyberry (Callicarpa americana), which produces tight clusters of brilliant purple berries in the fall. It isn’t too difficult to grow from seed, but some planning is beneficial. It is a deciduous shrub that will grow best in part-sun and well-draining soils[1][2].
Identification
Stalk
The woody stalk of this plant typically grows 3-6′ tall. New shoots produce flowers/fruit, while old stalks only have leaves.
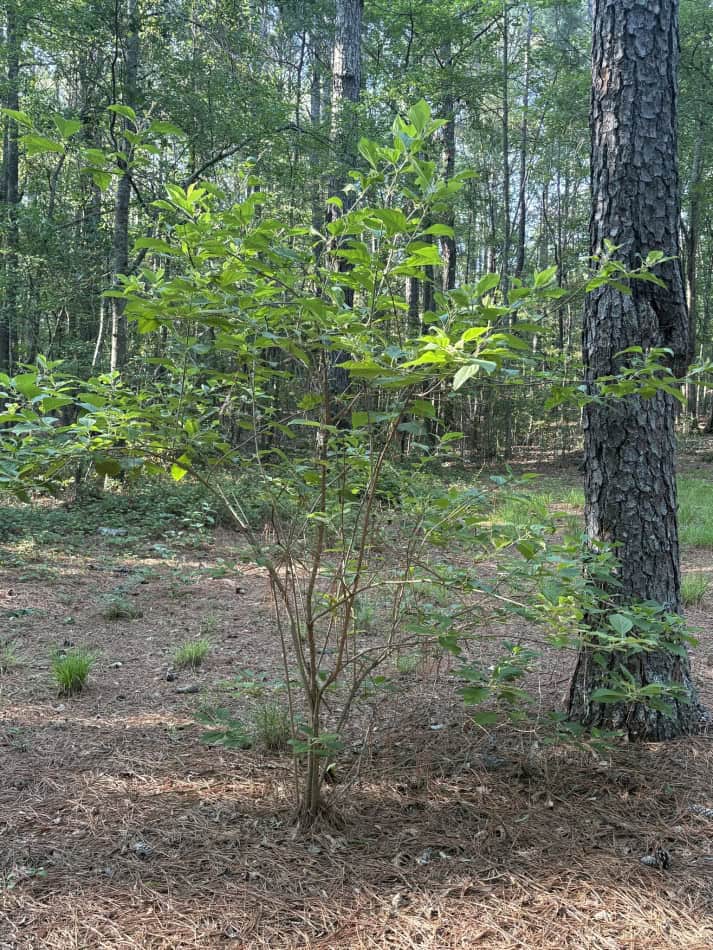
Leaves
Leaves are oppositely arranged, 2.5″-6″ long, elliptical to ovate in shape, and have serrated margins[1]. The underside of the leaves have a white appearance due to small hairs.
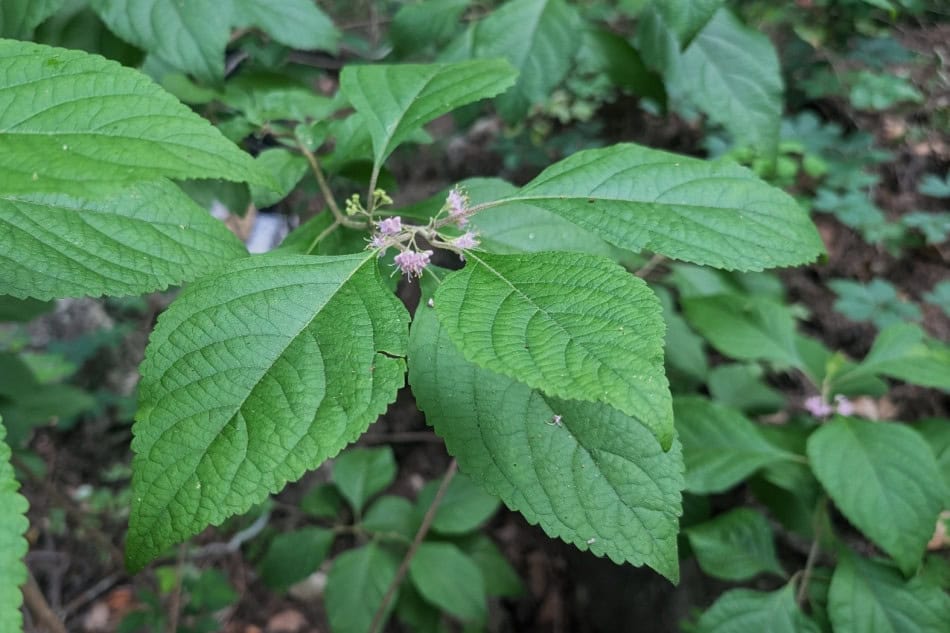
Flower
Flowers occur at the axillary of the leaves in clusters and appear in Spring. They have a funnel shape with four clefs, and can be white, blue, purple or pink in color.
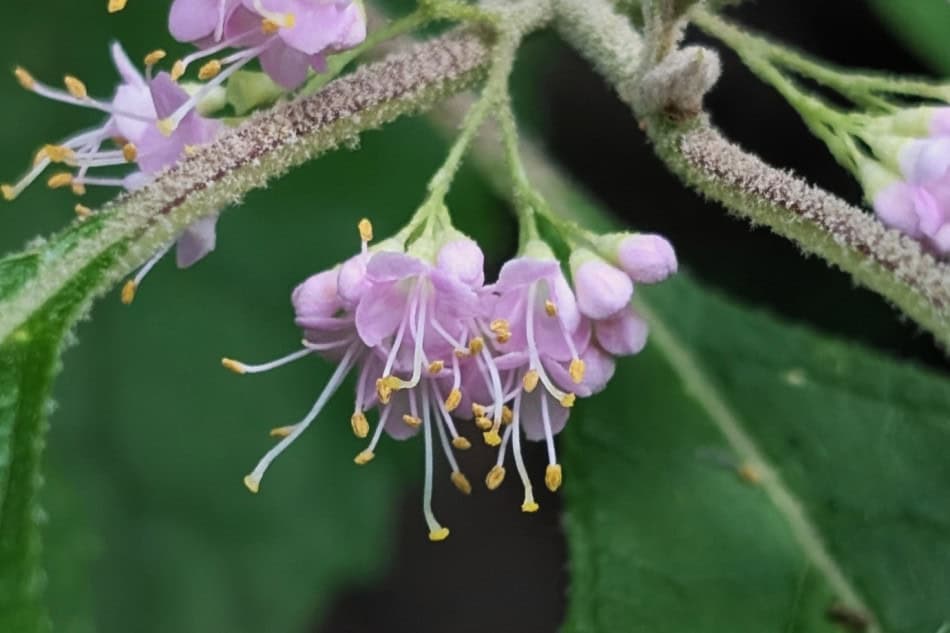
Fruit
Fruit will initially be green, changing to a dark purple or magenta color. Ripening usually occurs from August to September.
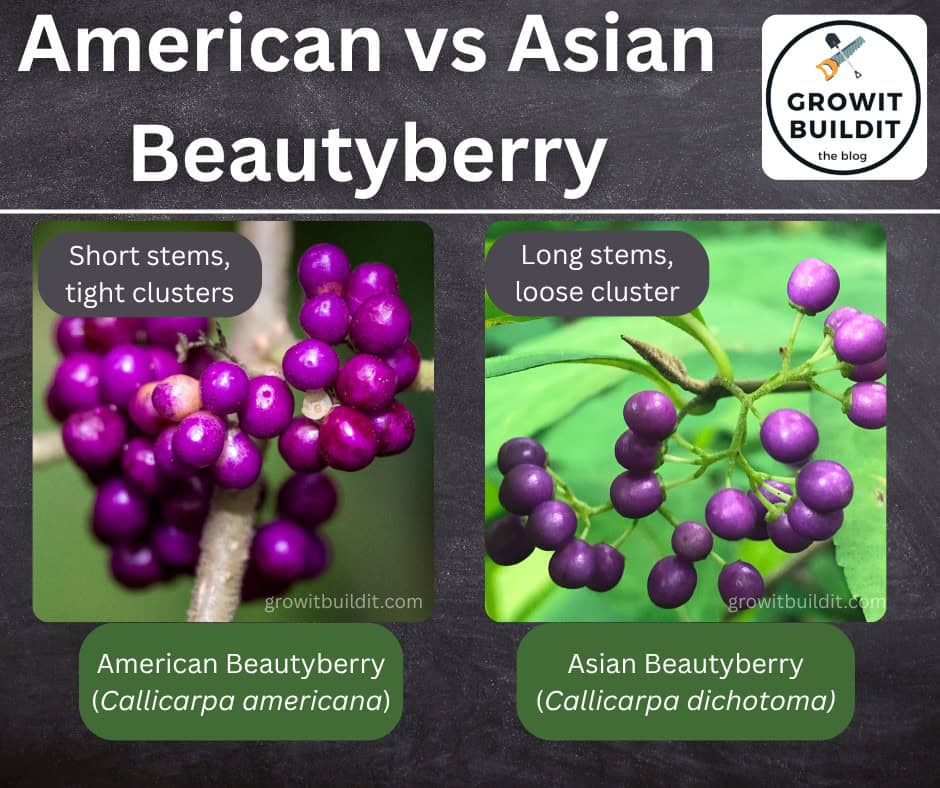
American Beautyberry vs Asian Beautyberry
It is important to know that you are growing native American Beautyberry, and not the exotic Asian species that has established itself in several parts of the US. So, in this section I will break down the key differences in their physical characteristics.
Leaves
The mature leaves of American Beautyberry are generally 2.5-7″ long, while Asian Beautyberry leaves are smaller, being 1-2.5″ long. The size is the key difference, as both species have overlapping leaf shapes (unfortunately).
Fruit
The fruit is the key for differentiating the two species. American Beautyberry fruit are in tight clusters with very short stems to the axils of the leaves. While the Asian Beautyberry have longer stems attaching them to the stalk, and are more spread out.
Harvesting seeds
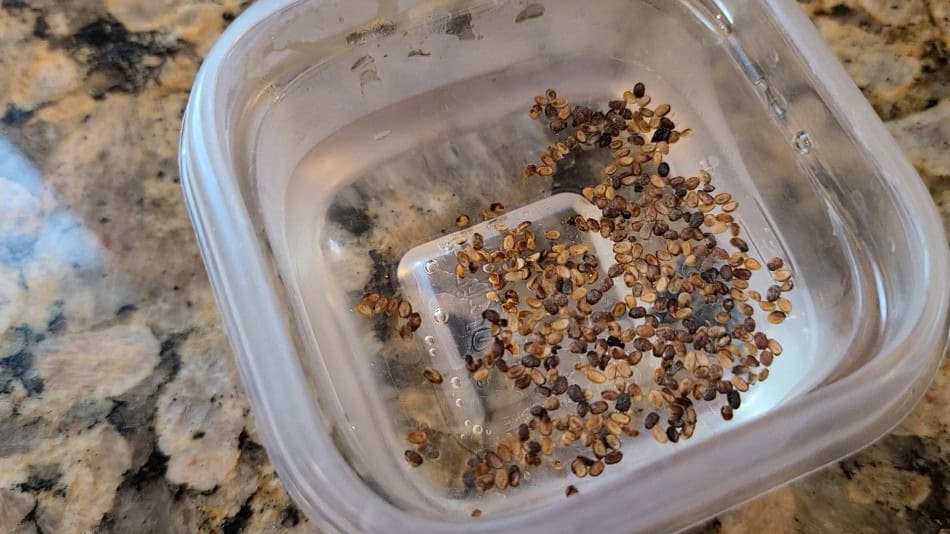
The seeds from this shrub are ready as soon as the birds begin eating them, so you need to be quick collecting them. But when they turn to their purple color, you can go pluck complete clusters off and put them in a bag. Take them home and either place them into the fridge, or process immediately.
To process the seeds, it’s easiest to squeeze them out or remove the flesh on a common kitchen strainer. Just make sure your strainer is fine enough to not let the seed fall through. Rinse the seed thoroughly and then pat dry. Then, place the seed in a sealed zip-lock bag in the fridge until you are ready to sow.
Stratification and scarification
Official references state that there is no pretreatment required for seed germination. However, there are some recent research that suggests sulfuric acid can be used to scarify the seed[3]. This is a nasty chemical that can be a bit hazardous on your skin at the concentrations the researchers used. If you were a bit adventurous, you could mix up a much lower concentration and attempt to soak it for a longer period of time (see how I germinate Eastern Red Cedar trees, for example). The purpose of doing this would be to simulate the digestion of the seed in a bird’s stomach.
Even though the official references don’t state it, when seeds have a hard outer shell, soaking them in water for 24 hours can greatly help soften the hard coating. That is what I did, and I’m sure it helped.
One more point, again, even though no pretreatment is ‘required’, you can generally achieve a high germination rate by cold-stratifying the seed for 30-60 days. I winter sowed my seeds, which is by far the easiest method to cold stratify seeds. Just don’t let these completely freeze as they are from a woody shrub. So, keep them on the floor of an unheated garage or shed if prolonged freezing temperatures are expected.
Planting
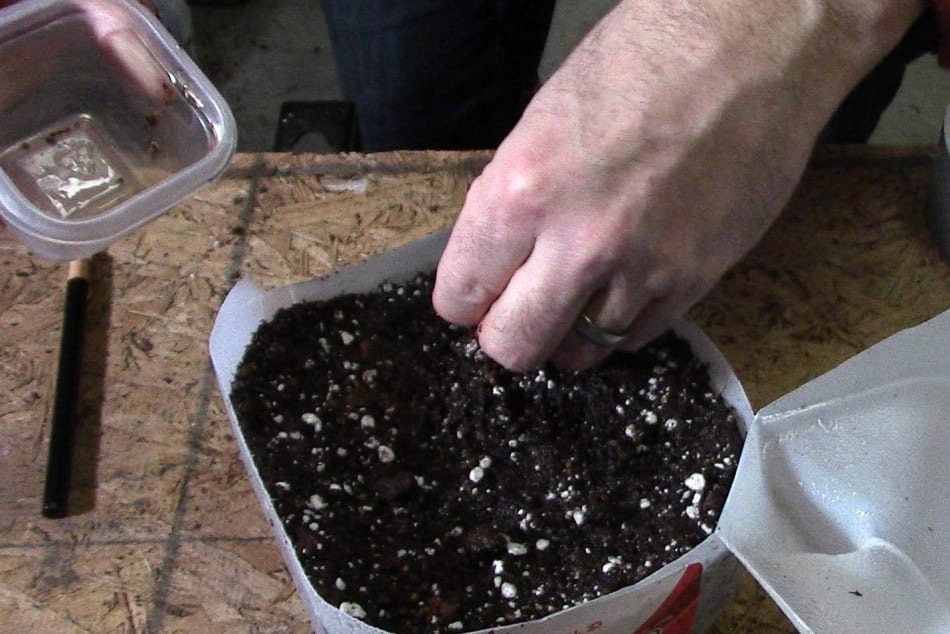
If planting stratified seed or winter sowing, simply fill a suitable container with moist potting soil. Press the pre-soaked seeds firmly into the soil and give it a light covering of up to 1/16″ (1.5 mm) of soil. Place the container in a location that gets morning sun and afternoon shade. Keep the soil moist by misting or watering from the bottom so you don’t wash away the seed.
Germination
In my experience, American Beautyberry seeds are a bit slower to germinate in the Spring as compared to regular native flowers or most other trees. They begin germinating in mid to late Spring (mid-May in zone 7). Below is an image of the seedlings on May 30th
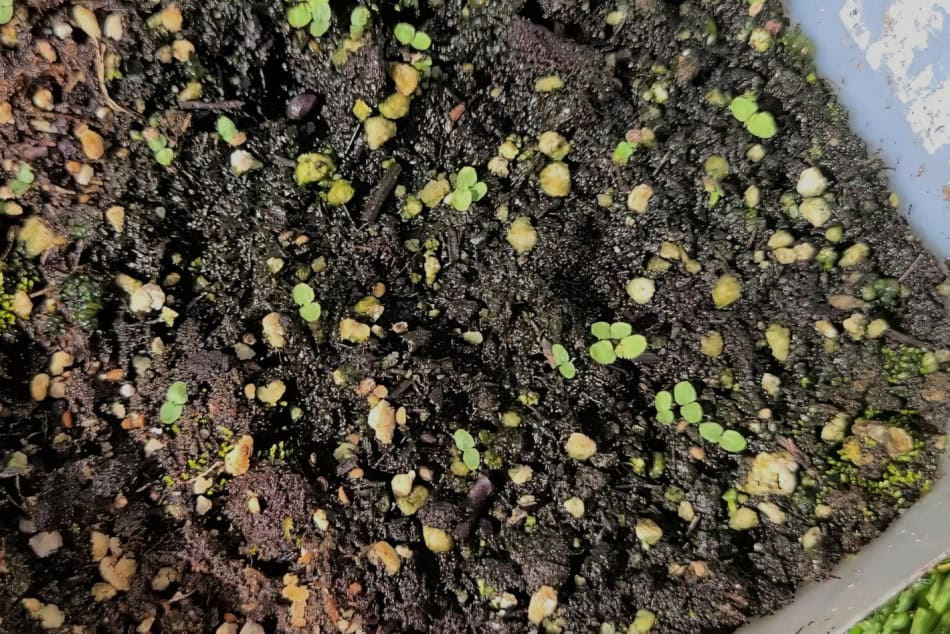
And here is how much the seedlings had developed by July 24th. As you can see they are slow growers/germinators. So, you should have some patience.
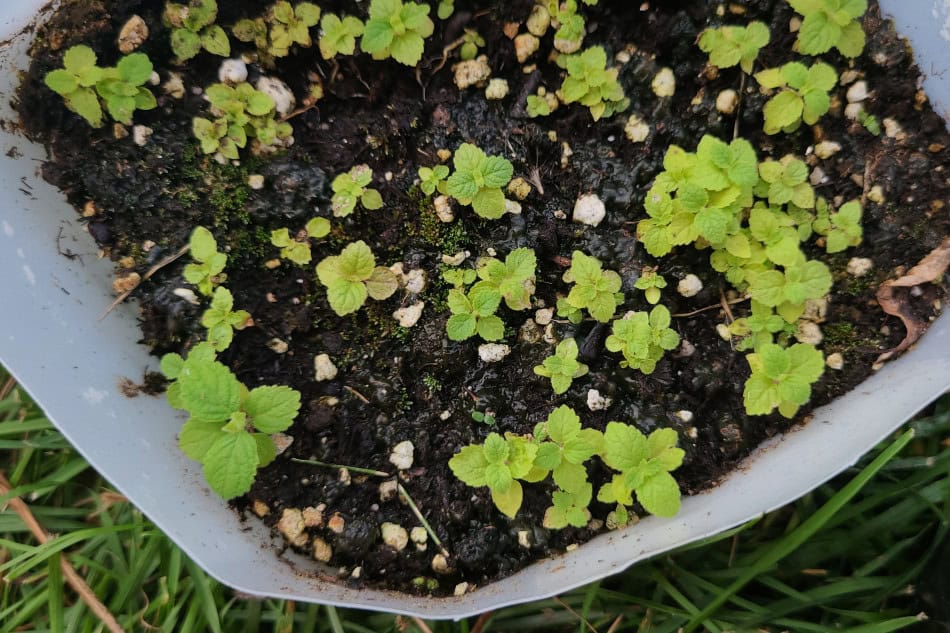
Once the seedlings look like the image above, you can separate and transfer them to larger pots, or even just plant them out to their final location. If potting up, I would recommend that you wait until Fall to plant them. The soil is cooler, so less heat-demand on the plant. Also, it is important that you protect any new seedling with either Liquid Fence or a shelter. Consider wrapping some chicken wire around the base too, as in the dead of winter if there is prolonged snow cover the rabbits may start to gnaw on the young bark.
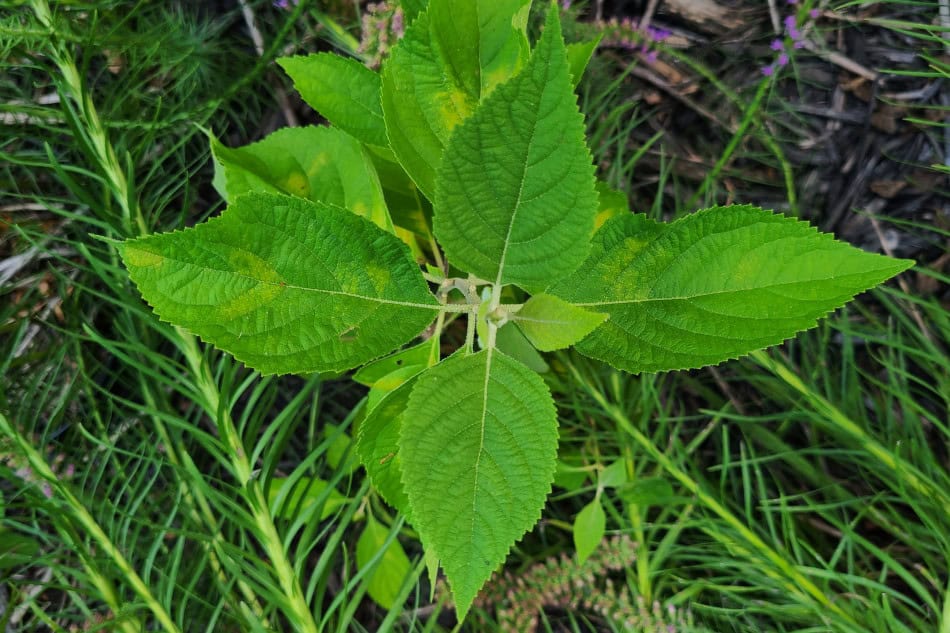
For locations as to where to plant it, know that the more sun it receives, the more fruit it should produce. In winter it can be pruned down to 1′ tall to promote new shoots, which will produce flowers/berries in the following growing season.
Find more native plants here
References:
[1] – Immel, D. Anderson, M. AMERICAN BEAUTYBERRY Callicarpa americana L. USDA NRCS Plant Guide. 2006.
[2] – Callicarpa americana, US Forest Service, Fire Effects Information System. Accessed 29JUL2026.
[3] – Contreras, Ryan N., and John M. Ruter. “Sulfuric acid scarification of Callicarpa americana L.(Lamiaceae) seeds improves germination.” Native Plants Journal 10.3 (2009): 283-286.
Recent Posts
So, if you are going to be spending time in the woods, or even anywhere with taller weeds you should take care to protect yourself from ticks. They cause numerous diseases like Lyme disease, and now...
At some point in your life, you are going to have to loosen a rusted, stuck, or seized screw. It is almost guaranteed! So, depending on the situation, one of these will work. I've noticed that lots...