
Interested in saving beet seeds? Well you’ve come to the right place. I am no stranger to saving seeds, and I came about saving beet seeds in a roundabout way. But I will show you exactly what to do to save the seeds. This is not an every-year activity, as I’ve found a single plant can produce thousands of seed depending on the fertility of the soil in which its grown. But it is good to know what to do in order to be able to save the seed, as this can save you money over time.
Where are the seeds on beets?
If you’ve grown beets for some time, you probably are used to planting seeds outside in Spring, then harvesting by early Summer. And if this is what you’ve done, then it is likely that you’ve never seen a seed because it hasn’t produced them. You see, beets are biennials and need to go through a cold winter before bolting and flowering in the next growing season.
A beetroot plant needs to experience a cold dormant period before bolting. And the plant itself can survive temperatures down to 20F (-6C). And as such, you can get it to bolt in one of two ways. If you live in a place with more mild winters, or can place a thick layer of mulch on top of the beets, you can leave the beets in ground over winter. Then simply remove the mulch in Spring. This is the method I do, and I’m on the border of zones 6/7, and our winter temperatures regularly get down to single digits and sometimes below zero overnight. But the thick layer of leaf mulch protects them enough to allow them to survive.

If you live somewhere with extreme winters, say Zone 4 or less, then you should pull them at the start of winter before the ground freezes. Trim the tops off, leaving 1-2”, leave the root, and place them in a root cellar or in the fridge inside a sealed plastic bag until the ground is workable in Spring. Then, replant the beets and they will bolt/flower.
Flower and seed formation
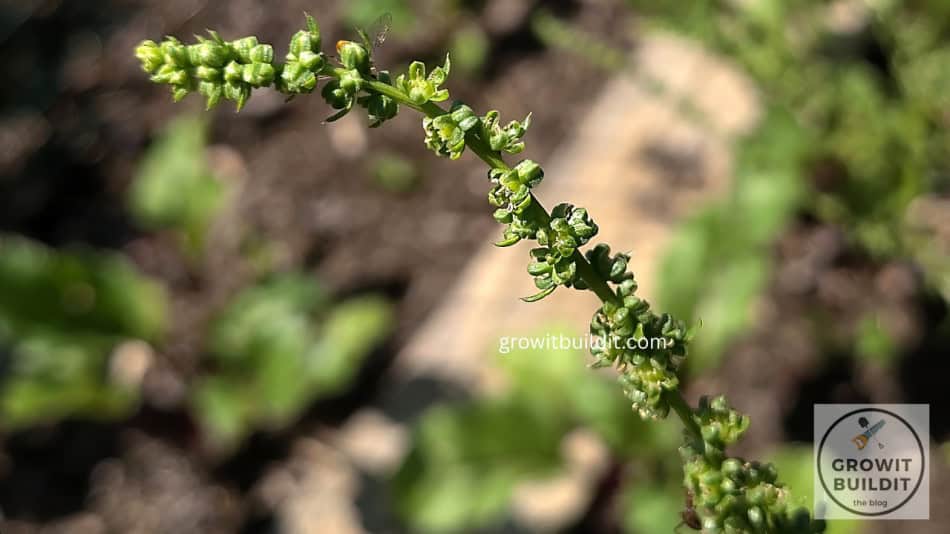
Once they bolt, you will see a stalk with branching emerge that is a couple feet tall. Along the branches there will be small green flowers. You’ll need to look closely to see that they are actually flowers, but just let them grow. At this point, you just need to wait for the flowers to be pollinated and the seed to ripen. This usually takes 4-8 weeks. But, eventually, where the tiny green flowers were will change into seed clusters. Initially the seed clusters will be green – but do not harvest them yet. You want to let them ripen and develop naturally so that they become viable. Once they turn golden brown they will be viable and it is time to harvest your seed. You can test if they are ready by rubbing your hand along one stalk. If the seeds are brown & easily fall off, then they are ready.
Since the ‘bolting’ is so large, the easiest way I’ve found to harvest the seeds is to get a 5-gallon bucket and take it out to the plant. Then, cut the stalk with a knife or pruning shears, and shove the whole stalk into the bucket. Take that to a dark place like a garage and leave it for a day or two so that any surface moisture evaporates. Then, simply run your hand along the stalks to pop off the beet seeds. For a massive stalk this takes me about 10 minutes. As I work, I discard the stalks in the yard or driveway.

Cleaning seed
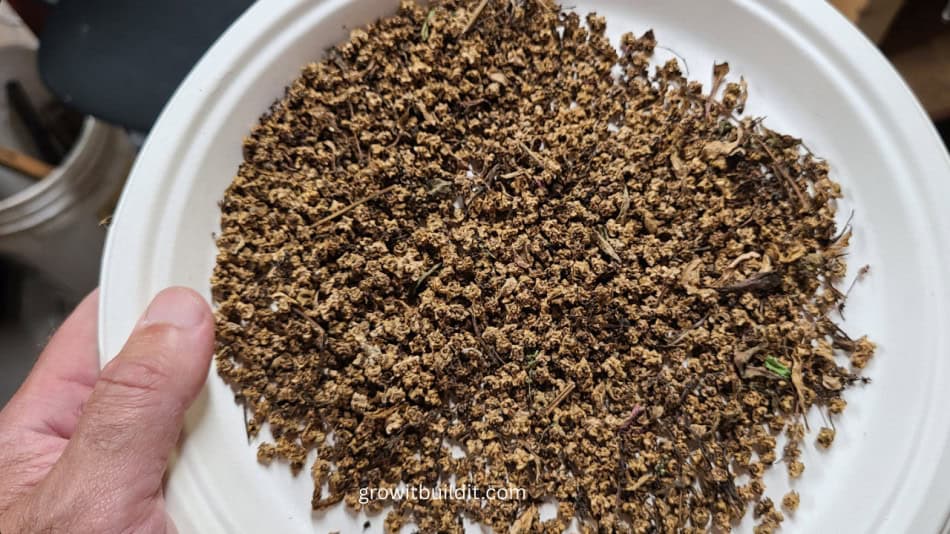
Once you’ve removed most of the stalk and released the seed in the bucket, you may wish to separate some of the chaff. This is optional, but makes for cleaner storage. What I do is get a paper plate and a large kitchen strainer. The kitchen strainer should be fine enough to not let the seeds pass through. Then, simply dump the seed/chaff mix into the strainer and shake it. The chaff will fall to the plate, which you can compost, then just dump the seed on another plate. Repeat as necessary.
Storing beet seed
To store the seed, let it dry further for a week or so in a cool dark place. UV radiation will reduce the seed viability, so you want to make sure it is not exposed to sunlight for days or weeks on end. Once you believe it is full dry, you can store it in an envelope or sealed plastic container. The seed should be viable for 3-5 years.
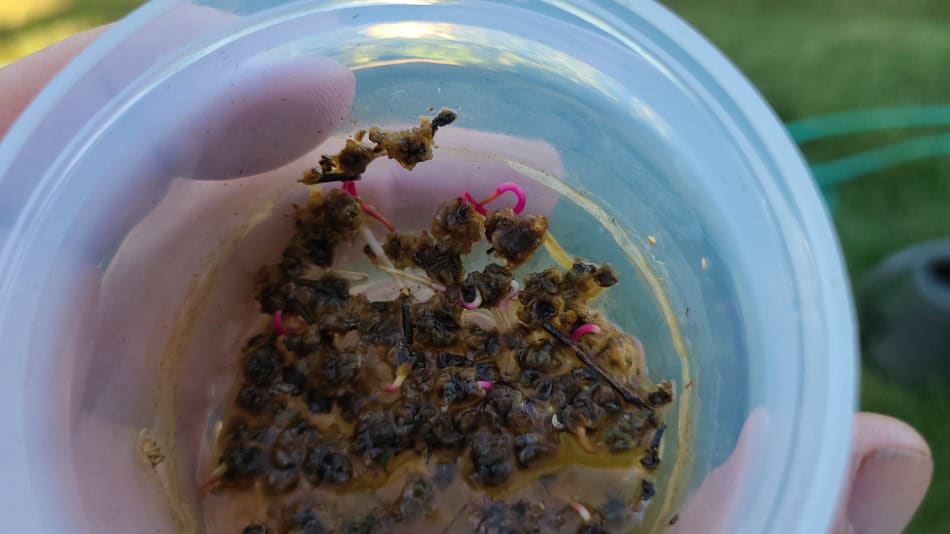
Here is a picture of some beet seeds I saved the previous year. They are sprouting after being soaked in water. But you can also germinate them easily on a paper towel.
Frequently Asked Questions
What kinds of beets can I save seed from?
Any variety of beet that is labeled as ‘heirloom’ will be an open-pollinated, pure variety of beet. And as such, the seed you save from them will be true to the original plant. Now, many beets that are sold in garden centers are hybrids. These have been bred by specifically cross pollinating two different species (learn more about hybrids and cultivars here). As such, if you grow these then their seeds will revert back to one of the parents. So read the seed package carefully.
Can beets cross with other species?
Beets can cross pollinate with other varieties of beets, and Swiss Chard. So, I find it is best to just grow one variety of beet in isolation to maintain the purity. I mainly grow the heirloom, ‘Detroit dark red’.
How can I prevent beets cross pollinating?
The easiest way to prevent cross pollination is to only allow one variety of beet to bolt and flower per season. But if you are a bit adventurous there is another strategy that can work. What you do is wait for the flower stalk to grow, but before the flowers open place a large paper bag over the stalk (don’t cover the leaves at the bottom of the plant). Then, staple the bottom of the bag shut. Every couple of days, gently shake the bag to release pollen (beets are most often wind pollinated).
Can you eat the beets that bolted and made flowers?
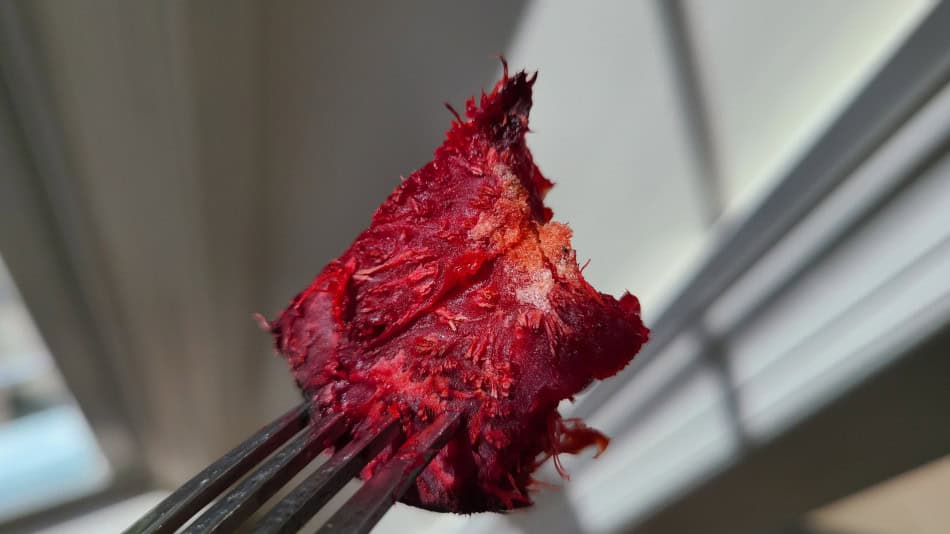
So what do you do with the beet that you let bolt and make flowers? Well, most people say to harvest beets when they a little larger than golf balls. Smaller beets are more tender, and if you let them get larger they will be tougher and woody. Well, I can say that this is true, but the fact is you can still eat the beets that bolted. They will be tougher though, so cut them thin and roast them slowly. Doing so will make them somewhat palatable. But if nothing else, you can simply toss them into a compost pile too!
Find more gardening tips here!
Recent Posts
Green Milkweed is a herbaceous wildflower native to North America[1], and is a host plant for caterpillars of the Monarch Butterfly[2]. Scientifically known as Asclepias viridis, it grows up to...
Keystone Plants - What Are They, And Why Are They Important?
If you've been researching native plants, you may have come across the term "Keystone Plant" or "Keystone Species". Often spoken or reverence or casually noted for their importance. So, what exactly...